Stages of Tiling
The tiling process can be conditionally divided into four main stages: surface preparation, waterproofing, tile installation, and grouting. Each of these stages plays an important role and requires special attention if the goal is to achieve a durable and high-quality result. Below we will look at these stages in more detail.
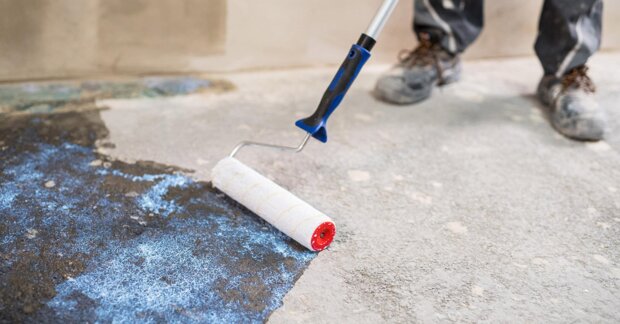
Surface preparation is a key step that directly affects the strength and durability of the entire tiling system. Poorly prepared surfaces can lead to delamination of the adhesive layer and finishing materials.
During renovation, the process usually begins with removing the old covering. At this stage, hidden defects are often revealed, which must be repaired before proceeding further. After that, the substrate is leveled — tiles should only be laid on a flat and solid surface.
Special attention should be paid to ensuring reliable adhesion between the substrate and the following layers. To achieve this, it is recommended to use a primer, which enhances adhesion and effectively removes dust from the surface, creating optimal conditions for applying the adhesive.
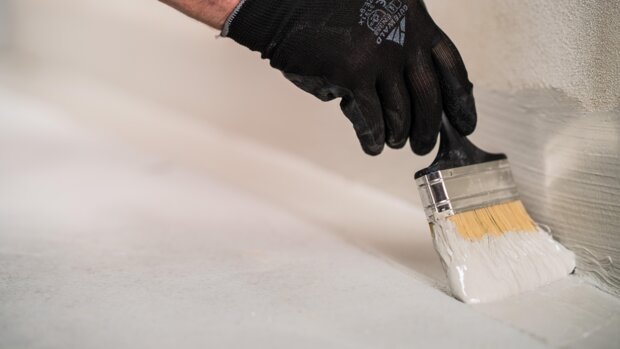
The waterproofing layer serves a protective function, preventing moisture from penetrating the structure. Indoors, it protects the substrate from damage and deformation that can occur when water seeps behind the tiles, for example, in showers or bathrooms.
On exterior surfaces, waterproofing is especially important — it prevents moisture absorption into the substrate, which helps avoid cracking caused by water freezing during cold seasons. Thus, properly applied waterproofing ensures the stability and durability of the entire tiling system.
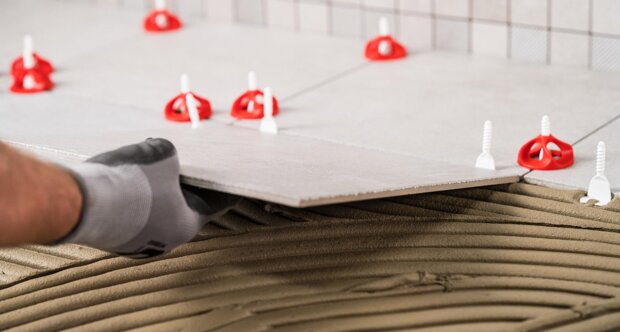
Tile installation is one of the most critical stages of tiling work, as it determines the strength and durability of the entire covering. When installing large-format tiles, it is necessary to use highly elastic adhesive compounds with enhanced adhesion to ensure resistance to loads and temperature fluctuations, especially when laying on heated floors.
Low-cost adhesive mixes generally cannot withstand the temperature variations that occur when underfloor heating systems are in use, which over time may lead to tile detachment or the appearance of cracks.
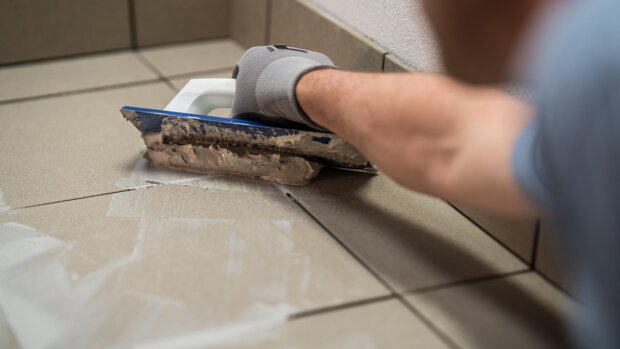
The final stage of tiling work is joint grouting. The quality of the selected material affects not only the appearance of the surface but also its durability.
In addition to color and strength, it is important to consider the wear resistance, elasticity, and smoothness of the grout — these properties prevent cracking and make the surface easier to maintain.
For bathrooms and showers, it is best to choose water-repellent or antibacterial formulations that provide additional protection and extend the lifespan of the tiling.
Using fast-setting materials such as repair mortars for concrete, self-leveling compounds, and tile adhesives helps significantly speed up installation and reduce project completion time. It is important to consider how soon the new surface can be walked on: in some cases, it may take until the next day, while in others, just a few hours. In the latter case, the tiling process can continue without interruption, greatly increasing work efficiency.
Few people know that tiles can be installed directly over the old covering. This method also saves time and eliminates the need for demolition and debris removal. However, before starting, it is essential to ensure that the increased surface thickness will not cause issues, such as floor height differences or difficulties with door opening.
Substrate preparation plays a key role in the durability of the tiling. Dirty, greasy, or overly porous surfaces reduce adhesion and may cause delamination of the materials. To ensure reliable bonding, it is recommended to use a high-adhesion primer, especially when tiling on concrete bases or over existing tiles.


